How To
Create A Rule In Windows Live Mail
Presented by Keystone Computer Concepts
How To Create A Rule In
Windows Live Mail
Want to print out just the instructions on this page? Click HERE.
Who Should Read This:
Users of Windows Live Mail
Windows Live Mail
Want to print out just the instructions on this page? Click HERE.
Who Should Read This:
Users of Windows Live Mail
In Windows Live Mail, rules can be used for a variety of things: to automatically move incoming emails to a folder other than the Inbox such as Spam; to automatically delete the message; to highlight it with a certain color; and much more!
In this tutorial, we'll show you how to create a rule to automatically put an email in the DELETED folder. You might do this because you're getting spam (junk) email from a spammer but he or she is using different email addresses. Whatever the reason, here's how to create the rule:
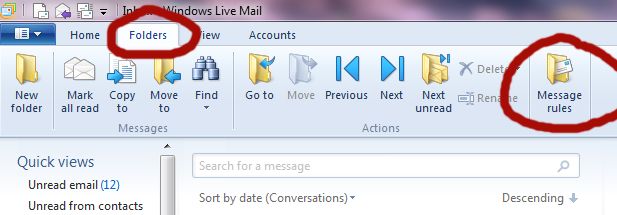
1)
On the Windows Live Mail Ribbon, click on the FOLDERS tab,
then click on the MESSAGE RULES icon.
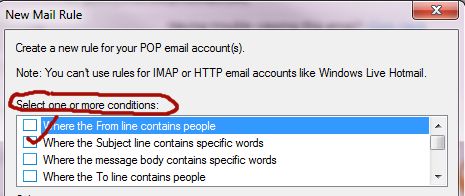
2) On the new window which
appears, start at the top section where it reads "Select one
or more conditions." For our example, we're going to put
a checkmark in "Where the Subject line contains specified
words."
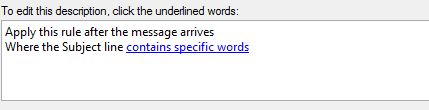
3) Once you choose a condition (in our case, "Subject line,") look at the bottom of the New Mail Rule window. Click on the "contains specific words" link:
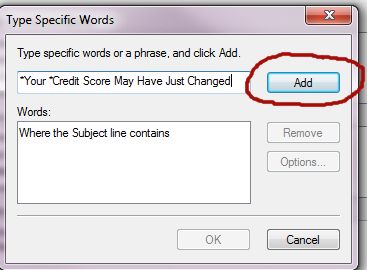
4) In the "Type Specific Words" window
which appears, type in the words from the Subject which you want to
use as the condition for the rule. In our case, we typed in
*Your *Credit Score May Have Just Changed.
Click the Add button.
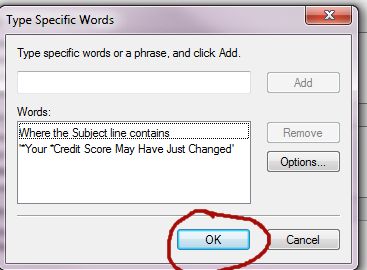
5) The window should now look like ours. Click OK.
6) Our example now looks like this:
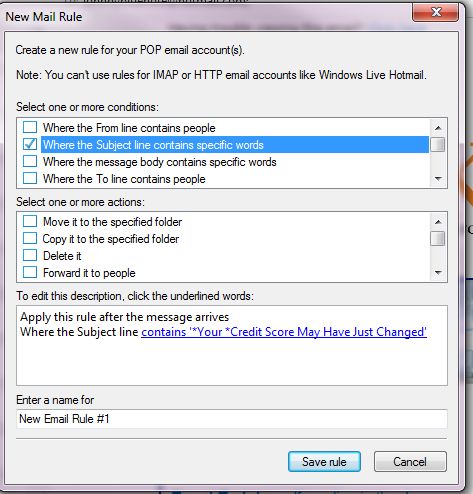
7) Next, go to the middle section of the
New Mail Rule Window where it reads "Select one or more actions."
For our example, we're going to choose "Move it to the specified
folder."
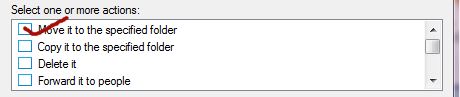
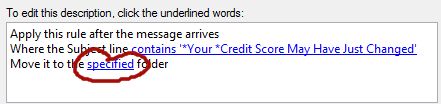
8) Once you insert the checkmark,
look at the bottom of the window and click on the "specified" folder
link.
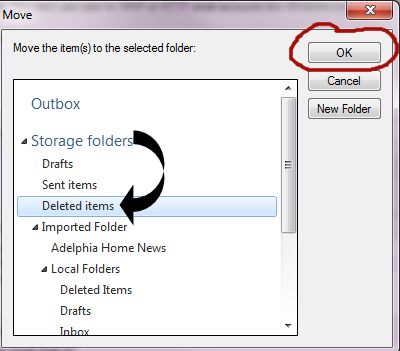
9) In the "Move" window which
appears, click the folder to which you want to move the email.
In our case, we chose the "Deleted Items" folder. Once your
choice is highlighted, click OK.
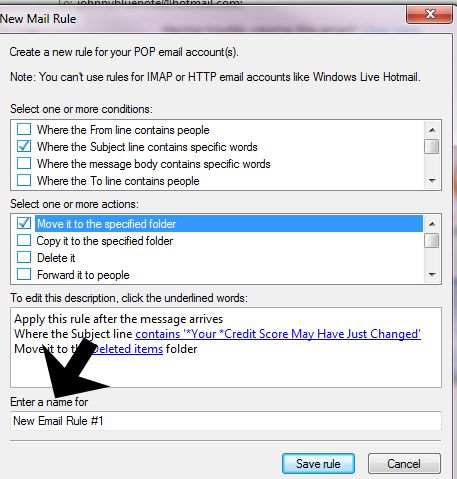
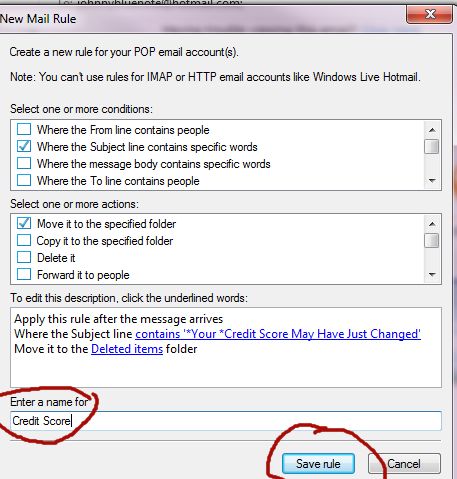
10) Your "New Mail Rule" window
should now look like the one shown here. Your next step is to
give your rule a name and then click "Save rule."
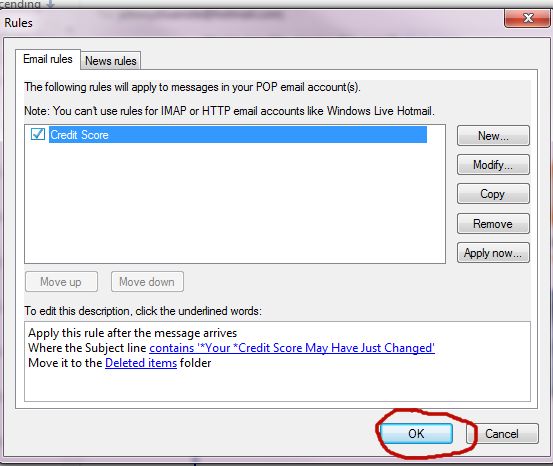
11) Finally, your "Rules"
window will now appear with your new rule listed. If you're
finished creating rules, click OK.